Thanks for all of your kind comments about the quilt top I just finished. After Googling around a bit I realized that I was using the wrong term - I didn't use a lot of Y seams (you can see what those are here), I used a lot of partial seams. Meaning that I had to inset pieced portions into other pieced portions. I put together a straight forward little tutorial to explain what I mean. A lot of you might already know how this works, but in case some of you don't...
One thing before we get started - it's key that you use a uniform 1/4" seam allowance for all of this piecing or else it won't all line up correctly.
So let's say you want to piece together this little bit of plaid:
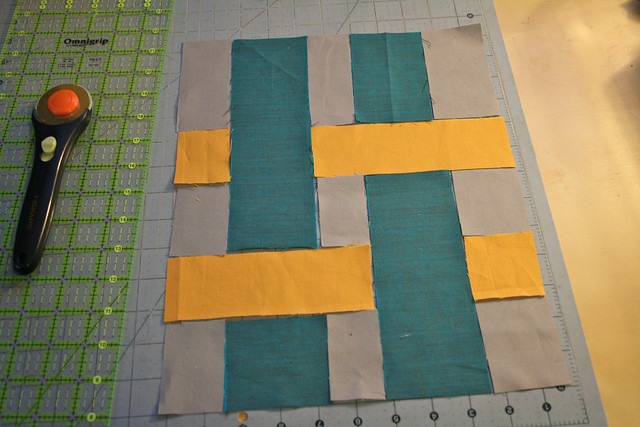
It's pretty clear how you sew together most of it...
But what to do with the center bit that falls right in the middle of all four portions?
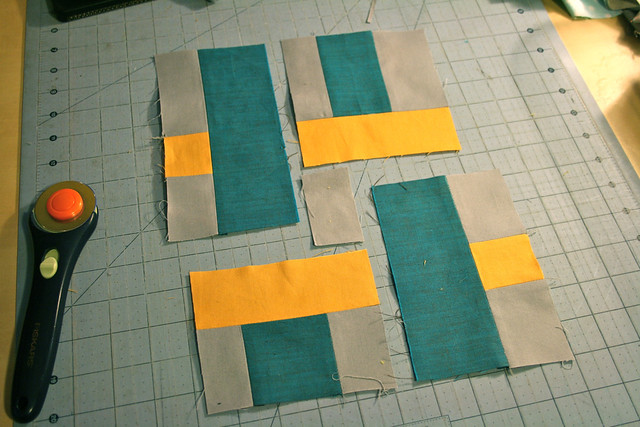
First sew it onto the lower corner of the upper left portion - but leave the top of the seam unsewn (hence partial seams!)
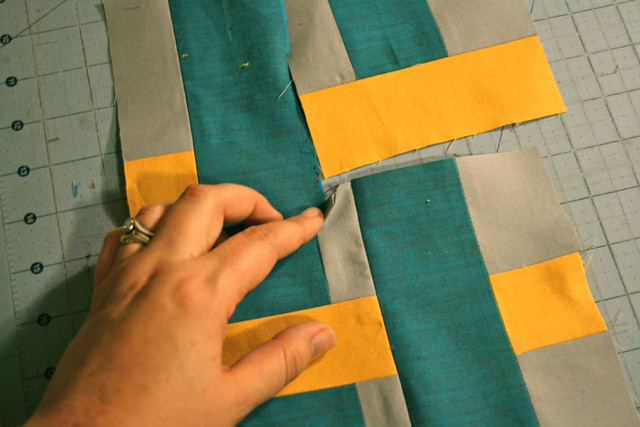
Then sew on the bottom left portion and then the bottom right portion. Three portions are now sewn to the center piece and now you'll use that unsewn part of the seam to sew on the final portion.
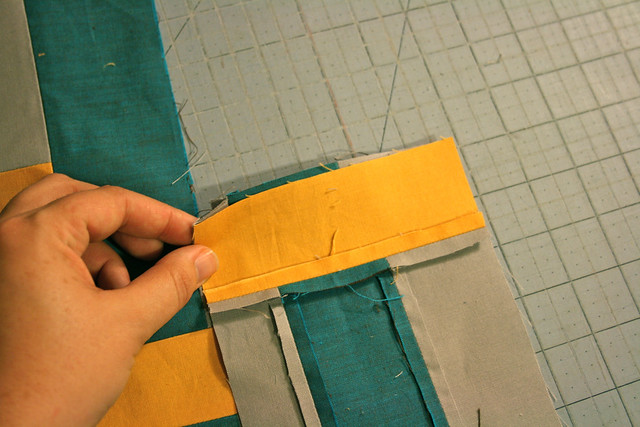
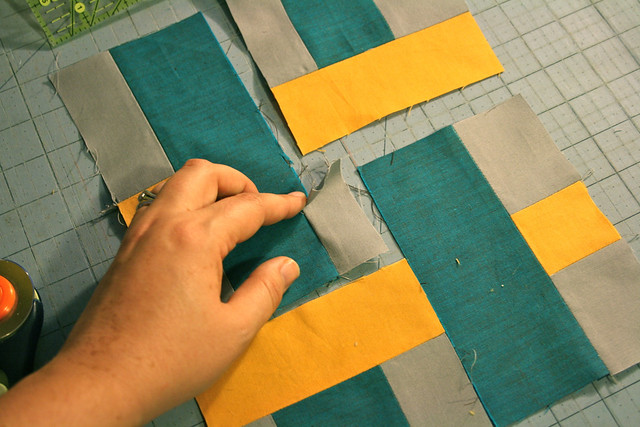
With the top right portion placed on the lower right portion, right sides together, sew them together. (BTW - think that it's time for me to get myself a new cutting mat?!?)
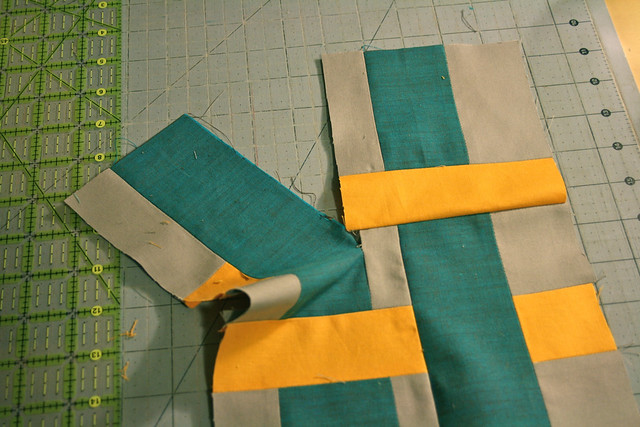
When you're done, your piecing will look like this.
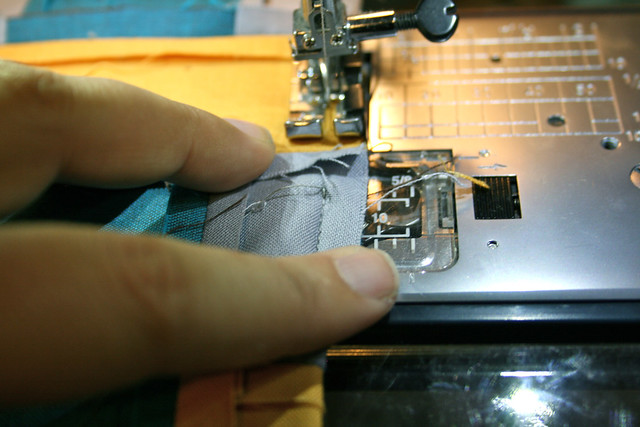
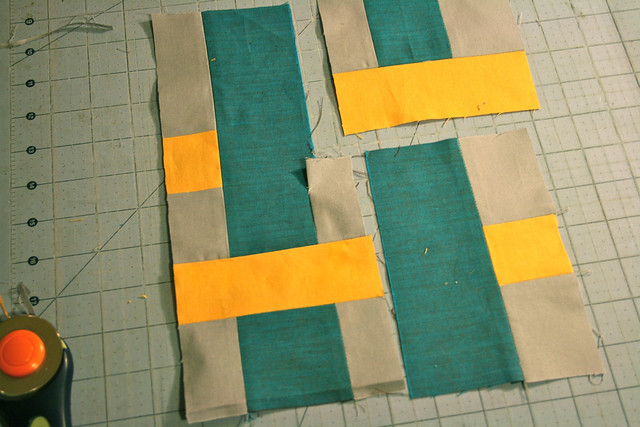
Finally, finish up by folding your piecing down the middle, right sides together, and sew the remaining seam until you get down to the already sewn part of the seam. You're all done!

See? Easy enough! It gets more involved when you have a ton of these partial seams in your quilt top (there were a LOT in the top I just finished), but I find that having all the cut out pieces displayed on my design wall, thinking it through, assembling it piece by piece, and then portion by portion, works well for me. I don't think I could think it through if I didn't have it all laid out in front of me though. I'm a visual person. I need to see it to get it. This is just one more reason I think that a design wall is one of the most valuable things you can have in your sewing space!