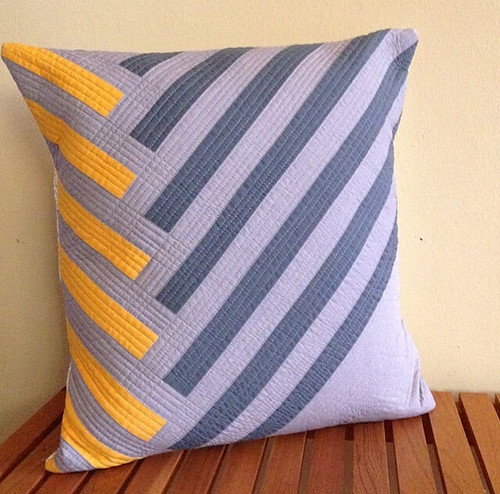
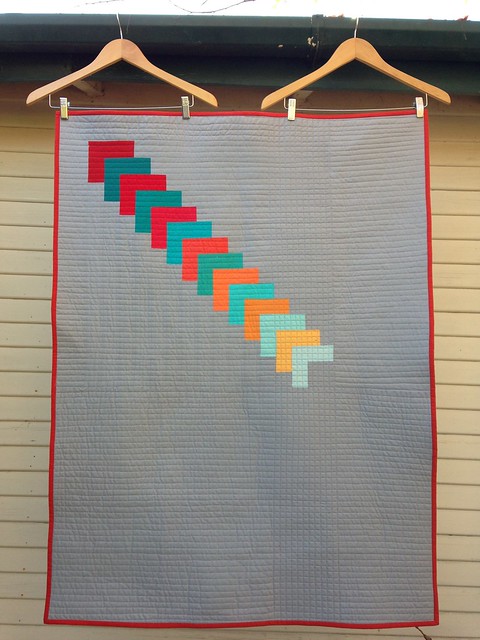
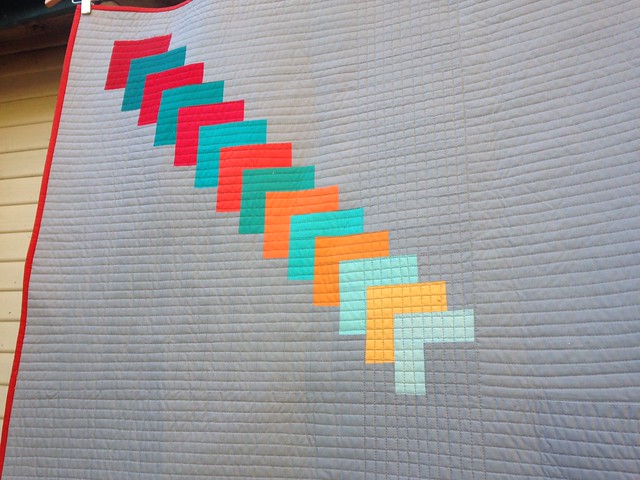
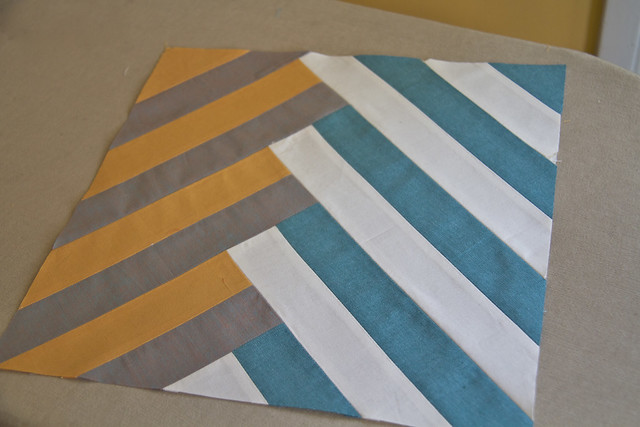
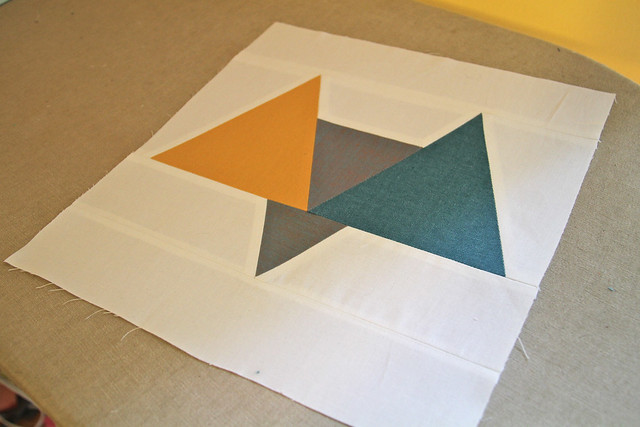
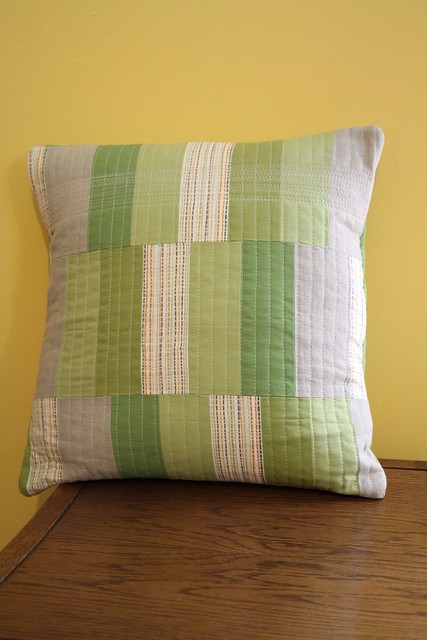
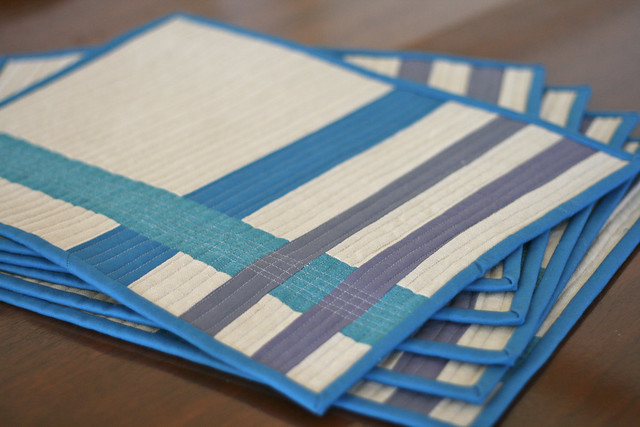
As promised I've put together the pattern for the pillows that I made at the end of last year... No excuses for how long it's taken me... I'm a busy lady! Obviously you can put these together in any number of color choices and options. I've made a pretty big variety:
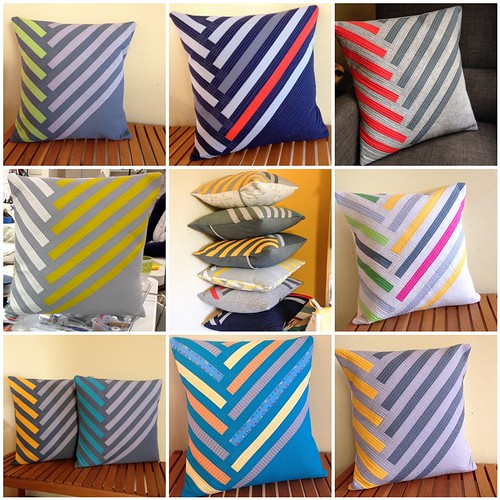
In terms of fabric selecting, all I would suggest is that if you use a print have it be very small scale as the pattern of the design develops through the piecing and a loud print might detract from the overall look. I designed this pattern with solids in mind, so think of that when you pick your fabrics.
Materials needed:
Makes one 20" pillow.
Fabric: These quantities assume that you will be using three different fabrics. One for the background and one for each set of the lines. Since the design is made with a lot of 1.5" wide strips, scraps are great for this and you can feel free to mix and match any number of different colors and fabrics.
- Fabric A - Dark Gray (background): 15" x WOF (width of fabric) strip - Fabric B - Light Gray: 4.5" x WOF strip - Fabric C - Yellow : 3" x WOF strip
Pillow back fabric: - Two 20" x 13" rectangles of the fabric of your choice. I tend to use the background fabric to carry it through the design of the whole pillow. - One 20" x 2.5" strip for binding the exposed raw edge.
Scrap fabric for the inside of the pillow: -Two 22" x 15" rectangles -One 22" x 22" square
Batting: -Two 22" x 15" rectangles -One 22" x 22" square
One 20" pillow form
Cutting:
Fabric A:
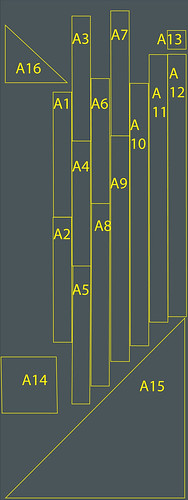
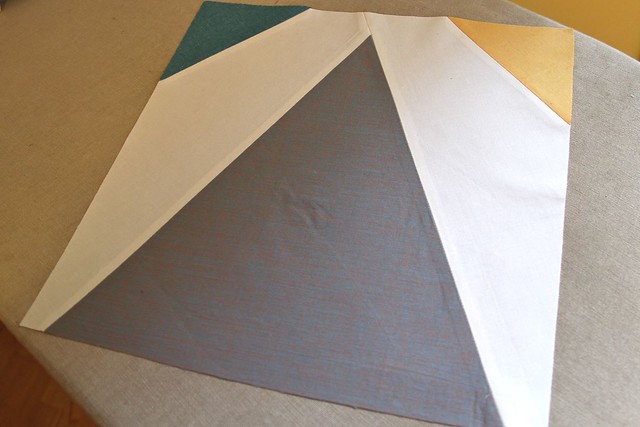
1. First cut your A15 triangle, measuring 15" up the right side of your fabric and cutting along the diagonal to the lower left piece of your 15" x WOF strip.
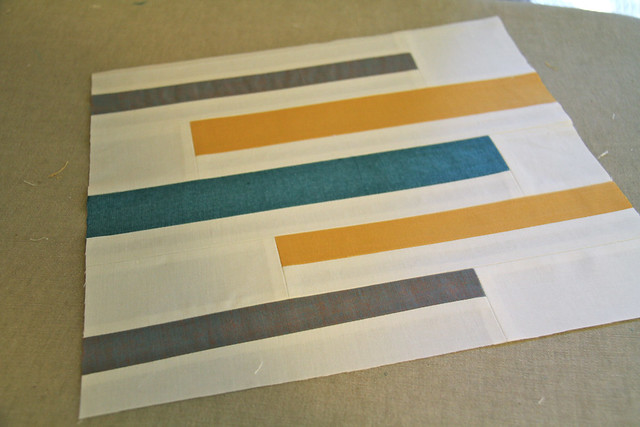
2. Use the remainder of your fabric and the diagram above to get all of your A pieces out of your 15" x WOF strip. A1, A2, A3, A4, A5, and A6 = 1.5" x 10" A7 = 1.5" x 11" A8 = 1.5" x 15" A9 = 1.5" x 18" A10, A11, and A12 = 1.5" x 21" A13 = 1.5" x 1.5" A14 = 4.5" x 4.5" A15 = Right triangle with both straight edges measuring 15" long A16 = Right triangle with both straight edges measuring 5" long.
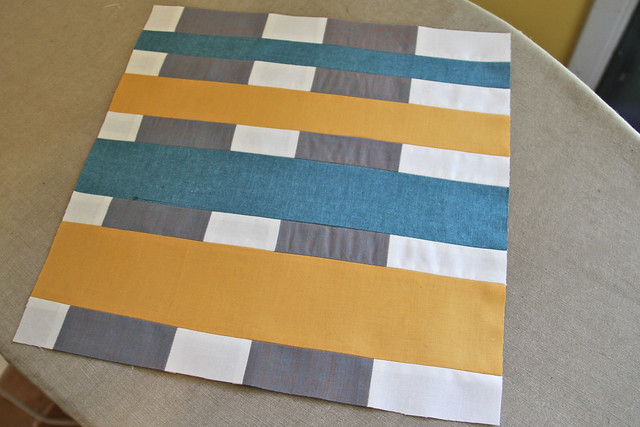
Fabrics B & C: 3. Cut 1.5" wide WOF strips out of all of your fabric and trim down to the following sizes:
B1 = 1.5" x 7" B2 = 1.5" x 11" B3 = 1.5" x 15" B4 = 1.5" x 18" B5 , B6 and B7 = 1.5" x 21"
C1, C2, C3, C4, C5 and C6 = 1.5" x 10" C7 = 1.5" x 8"
Piecing:
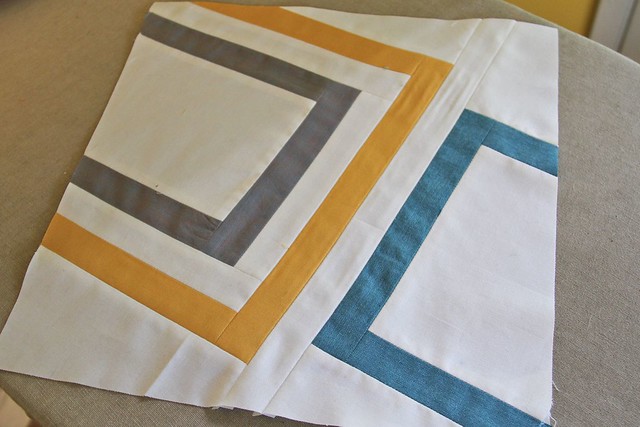
This pattern is basically a quarter log cabin. It can get a touch confusing because two colors are assembled before you build the log cabin, but it's simple!
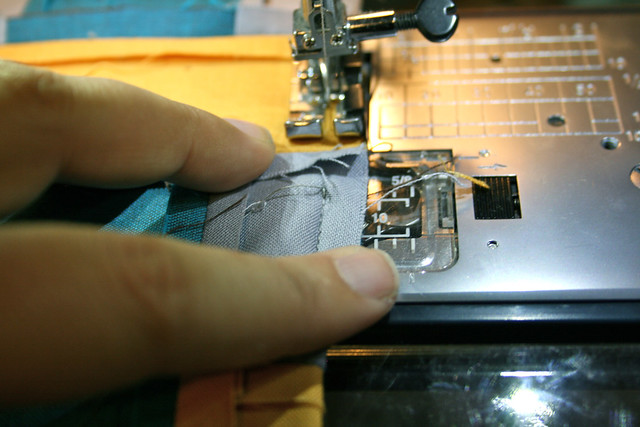
Piece with a 1/4" seam allowance.
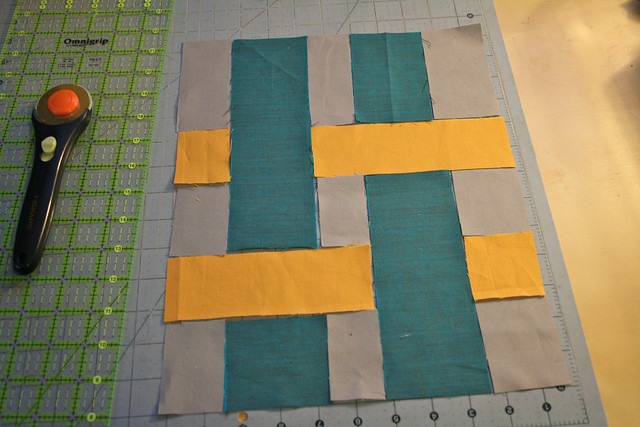
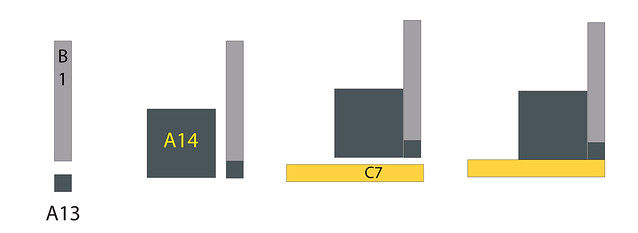
4. Assemble the center as shown below. First sew A13 to B1. Then add on A14. Finish by adding C7 to your piecing.
Now you'll assemble all of your strips in to panels before sewing them on to the center.
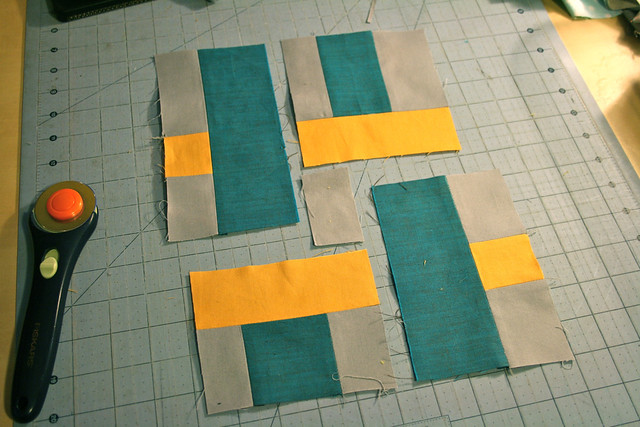
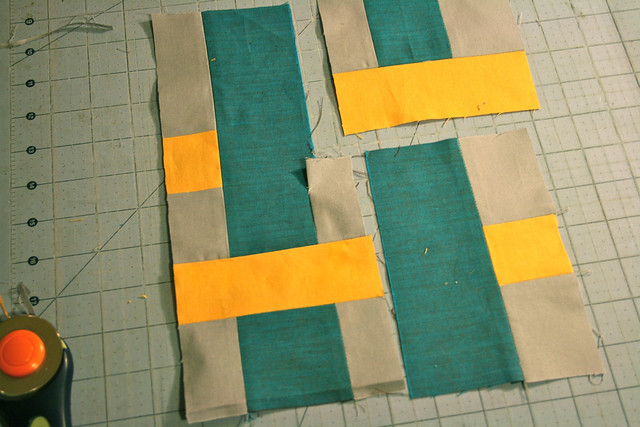
5. Start by assembling A1 with C1.
6. Continue making "yellow panels" by assembling A2 with C2, A3 with C3, A4 with C4, A5 with C5, and A6 with C6. Since all of the yellow panels are the same size, you don't need to label them.
7. Assemble A7 with B2 - label as A7/B2
8. Assemble A8 with B3 - label as A8/B3
9. Assemble A9 with B4 - label as A9/B4
10. Assemble A10 with B5 - label as A10/B5
11. Assemble A11 with B6 - label as A11/B6
12. Assemble A12 with B7 - label as A12/B7
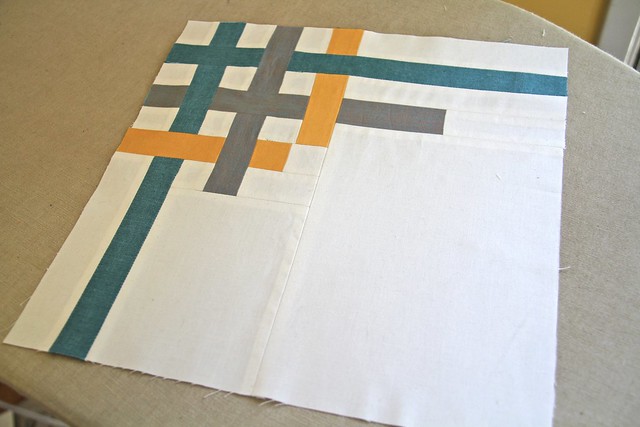
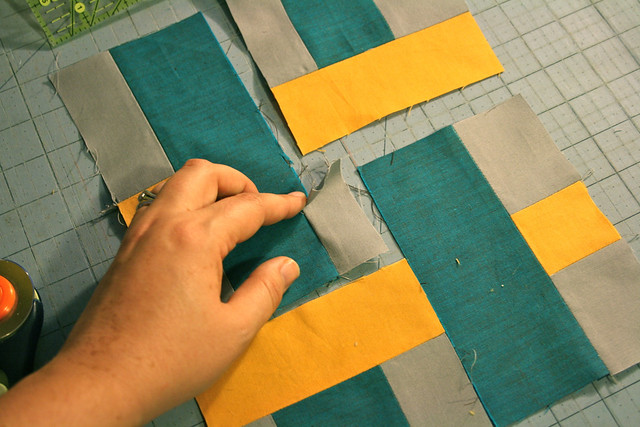
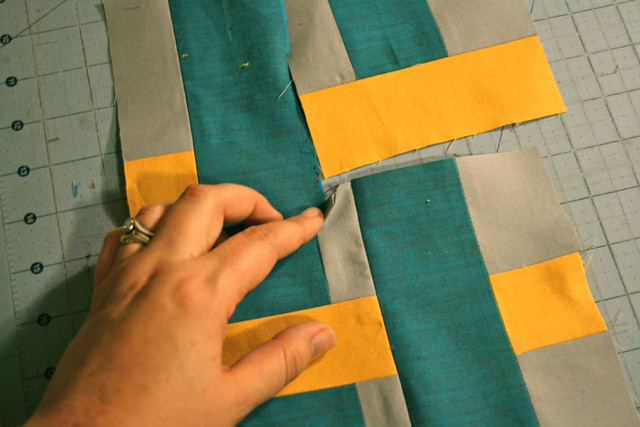
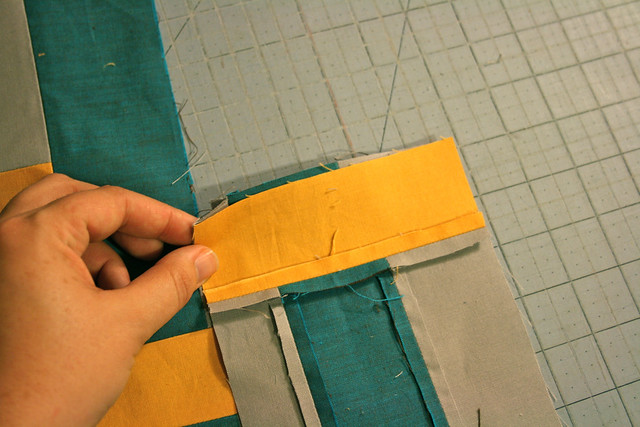
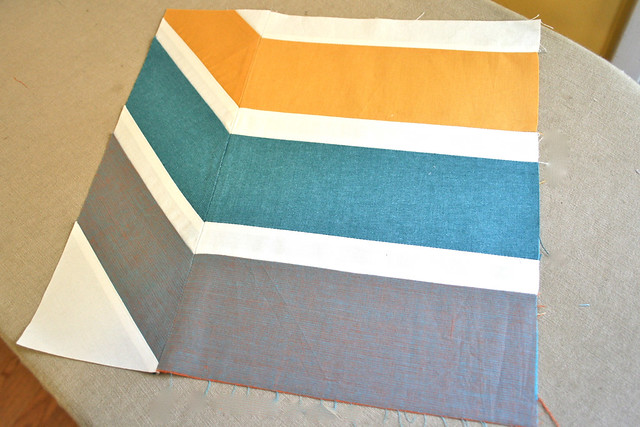
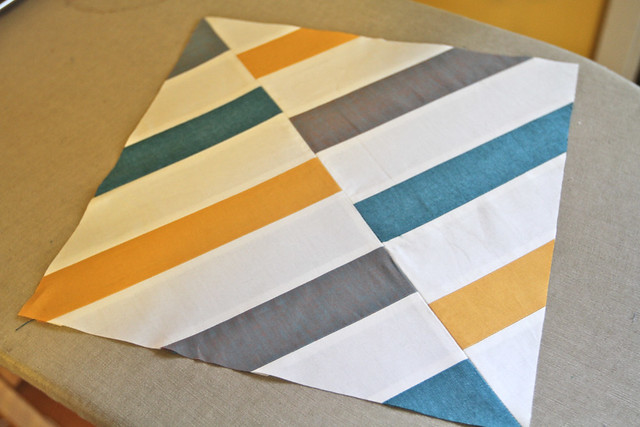
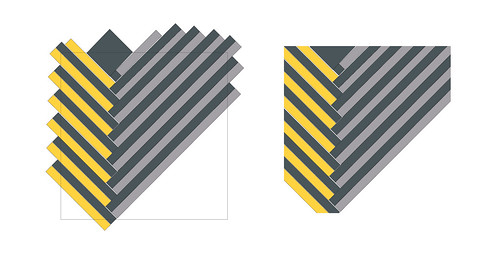
13. Now it's time to start building the quarter log cabin on the center you already pieced. Working from side to side, add the piecing from steps 2 through 8 to your piecing as indicated in the diagram below. Start with A7/B2 and alternate between the yellow panels and the A/B panels.

Please note: If this diagram is too small for you to see clearly, just click through to where it is on flickr since it is bigger there.
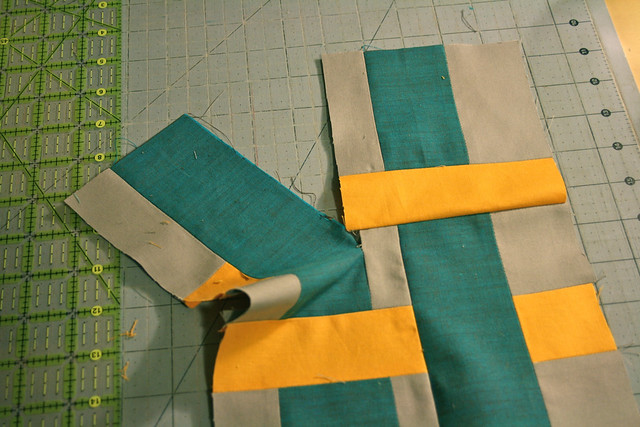
14. Now that you've built most of the piecing, rotate it and trim it down to 20" wide and 20" tall.
Trimming at this point makes it easier to see where your triangles get sewn on. Note that you'll just barely trim the bottom. Also, make sure that you have piecing to fill in all of the 20" wide before you make your first cut. You don't want to trim too much off of one side or the other!
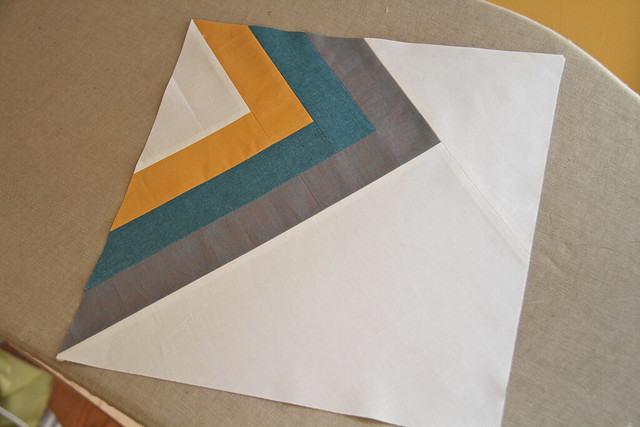
15. Next, you'll sew the two remaining right triangles on to your piecing. They are intentionally a bit bigger than you need.

16. Finally, square up your piecing to a finished 20" square.
Finishing the pillow sleeve:
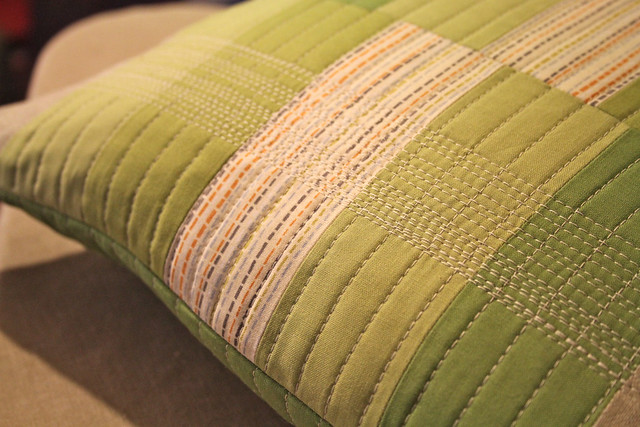
17. Now you'll need to layer your fabric, batting and scrap backing fabric and then quilt all three portion of the sleeve. The front, and the two 20" x 13" backing rectangles. I quilted these pillows with lots of dense straight line quilt 'cause that's my thing, but of course you can quilt as desired!
18. Once all three portions are quilted, trim off the excess scrap backing fabric and batting so that the front is 20" square and the two backing pieces are 20" x 13".
19. Bind the 20" length of one of the backing pieces.
20. Layer all three pieces, right sides together (taking care that your bound rectangle edge is what will be on the outside when you turn it all right side out) and pin thoroughly so that they won't shift as you sew them together.
21. Sew, using a 1/2" seam allowance, all the way around the outside edge of your layers.
22. You're in the home stretch! Trim your corners and turn the sleeve right side out and stuff with the 20" pillow form. Since the finished sleeve will be about 19" across, it will create a really full firm pillow.
23. And now the most important step: throw that pillow on your couch and enjoy it!!
Have questions or found a mistake in my pattern? (Totally possible!! Ha!) Let me know in the comments and I will reply as quickly as I can!